
If you’re a DIY homeowner who loves tackling home improvement projects, you’ve probably considered upgrading your smoke detectors before. And maybe you’ve been thinking about a combo smoke and carbon monoxide (CO) detector but just aren’t sure how to go about it. You’re in the right place. I’m here to walk you through exactly how to do it, and I promise, it’s not as complicated as it sounds.
Carbon monoxide is one of those invisible dangers that we don’t always think about. It’s colorless, odorless, and tasteless—basically, you’d never know it’s there until it’s too late. This stuff is produced when fuels like natural gas, wood, or oil are burned, and if it builds up in your home, it can be seriously harmful. The American Lung Association says 430 people die from CO poisoning each year in the U.S., and even more end up sick and needing medical help. That’s why adding a CO detector to your home’s safety system is a big deal.
Now, I know you’re thinking, “Is this something I can do myself?” Yes! And I’m going to show you how.
What You’ll Need
Before we dive into the process, let’s go over the basic tools you’ll need:
- Ladder
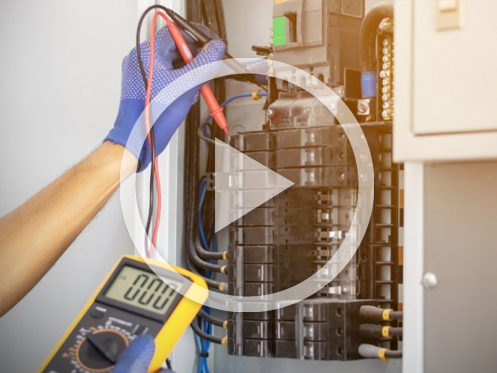
- Voltage tester
- Wire nuts
- New combo smoke/CO detector
All pretty standard, right? Let’s get started.
Step 1: Turn Off the Power
The first and most important thing: make sure the power is off at the circuit breaker. You don’t want any surprises when you start messing with the wires. You can flip the breaker switch for the area you’re working in, or if you’re unsure, just turn off the power to the whole house. It’s a minor inconvenience for some major peace of mind.
Step 2: Remove the Old Smoke Detector
Once you’re safe to proceed, take down your old smoke detector from its bracket. It should come off pretty easily. After that, you’ll see a few wires connecting the detector to your home’s wiring. Note which wires go where before you disconnect anything. A quick photo with your phone is a smart idea here—trust me, it’ll save you some head-scratching later.
Step 3: Test for Power
Even though you’ve flipped the breaker, it’s always good to double-check with a voltage tester to make sure there’s no electricity running through the wires. Better safe than sorry.
Step 4: Connect the New Detector
Now, it’s time to wire up the new combo smoke/CO detector. Typically, you’ll be matching colors: black wire to black, white to white, and red to red. Use the wire nuts to make sure everything is snug and secure. Wiring sounds intimidating, but it’s really just matching colors like you’re assembling a puzzle.
Step 5: Mount the New Detector
Once everything is wired up, it’s time to attach the new detector to the bracket and tighten the screws. Make sure it’s firmly in place—nobody wants their fancy new detector falling off the ceiling a week later.
Step 6: Power Up and Test
Flip the circuit breaker back on and give your new detector a test. Follow the manufacturer’s instructions on how to do this. Testing right after installation ensures everything is working as it should. If your detector has a test button, pressing it should trigger both the smoke and CO alarms. Boom—your home is now way safer than it was five minutes ago.
Final Thoughts
Congrats! You’ve just upgraded your home’s safety with a new combination smoke and CO detector. Not only have you protected your family from fires, but you’ve also taken an important step toward preventing carbon monoxide poisoning. It’s a small project with a huge impact.
Now, just remember to test your detector regularly and plan on replacing it every 10 years, just like the pros recommend. Keeping your home safe doesn’t have to be complicated, and with a little bit of time and effort, you’ve just made a huge improvement.
And hey, if any of this feels too much or you’re not super comfortable handling the wiring, don’t hesitate to call a professional. At Golden Rule, we’re always here to help make sure your home is as safe as possible, no pressure.
Stay safe, and happy DIYing!
The holiday season is here, and with it comes the excitement of twinkling lights, cozy nights, and festive decorations. However, amidst all the cheer, it’s important to... Read More

The holiday season is a time of joy, celebration, and, of course, twinkling lights and festive decorations. However, amidst all the excitement, it’s easy to overlook the... Read More
Hey there, Central Iowa homeowners! Have you ever wondered if your home’s electrical panel is pulling its weight? Picture this: you’re cozied up on your couch, enjoying... Read More